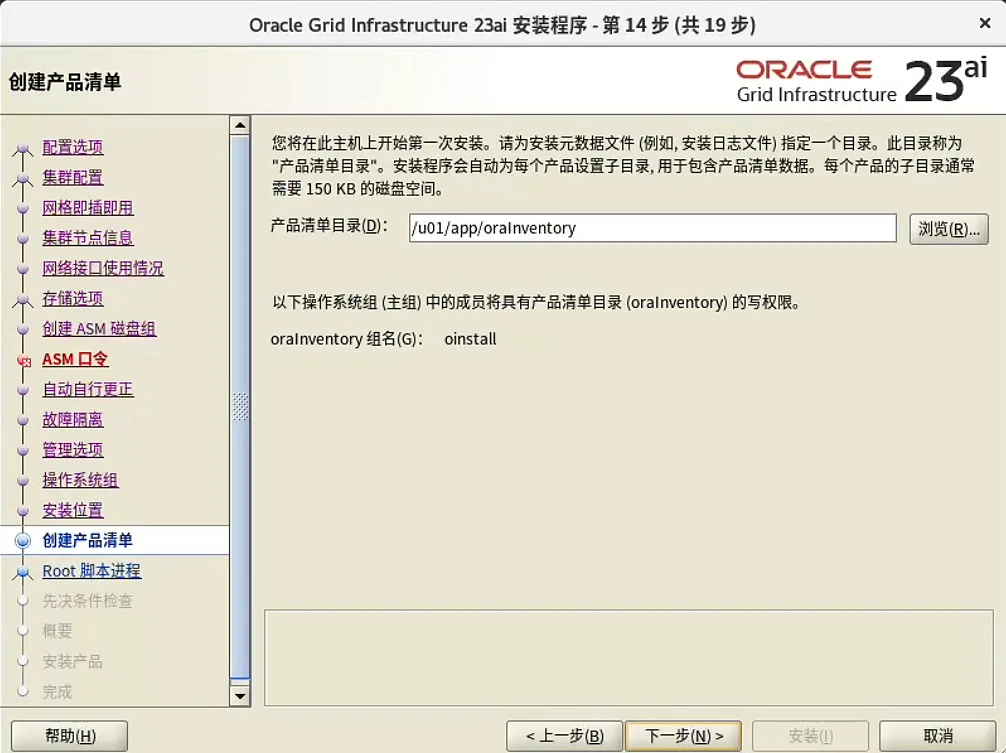
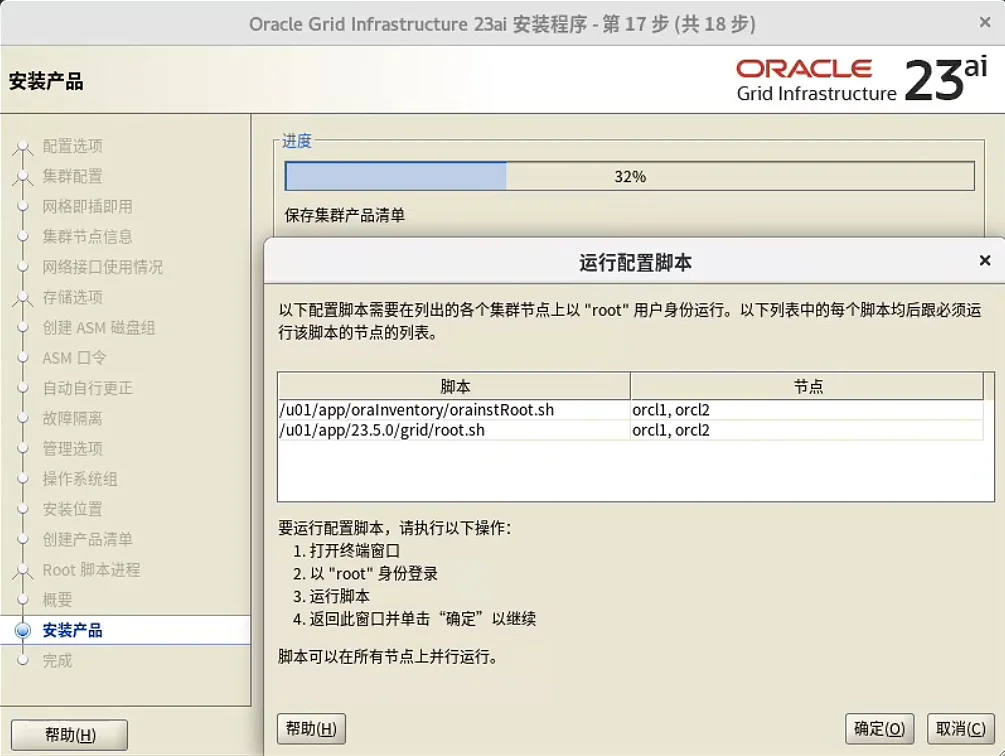
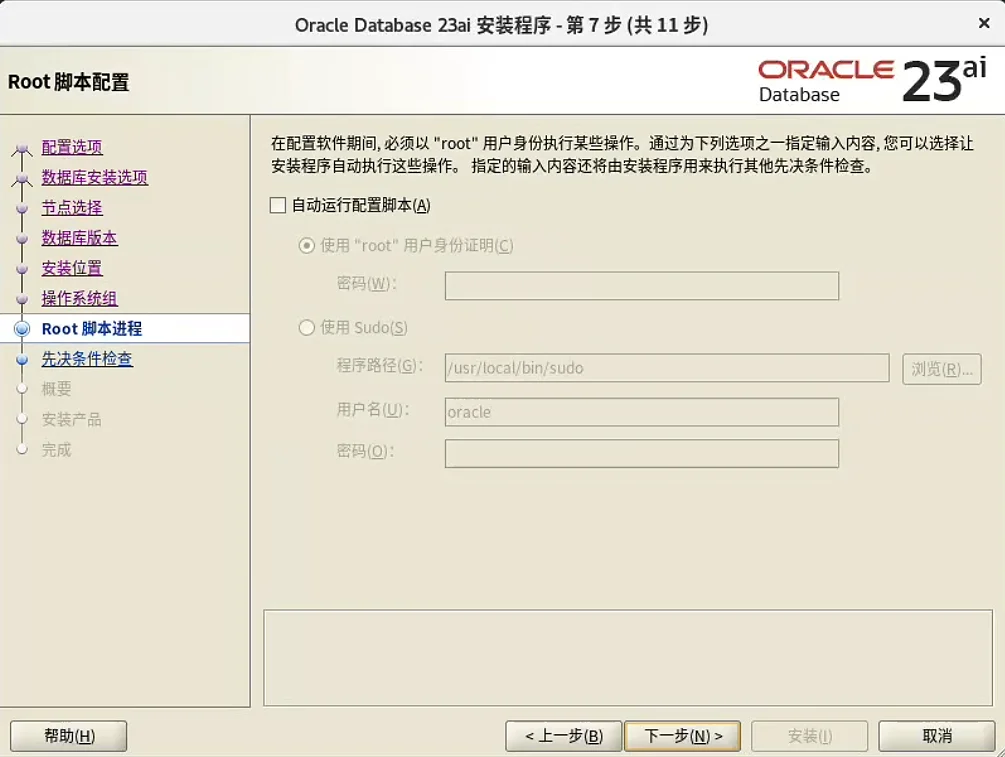
1[root@orcl1:/root]# /u01/app/oraInventory/orainstRoot.sh
2更改权限/u01/app/oraInventory.
3添加组的读取和写入权限。
4删除全局的读取, 写入和执行权限。
5
6更改组名/u01/app/oraInventory 到 oinstall.
7脚本的执行已完成。
8[root@orcl1:/root]# /u01/app/23.5.0/grid/root.sh
9Performing root user operation.
10
11The following environment variables are set as:
12 ORACLE_OWNER= grid
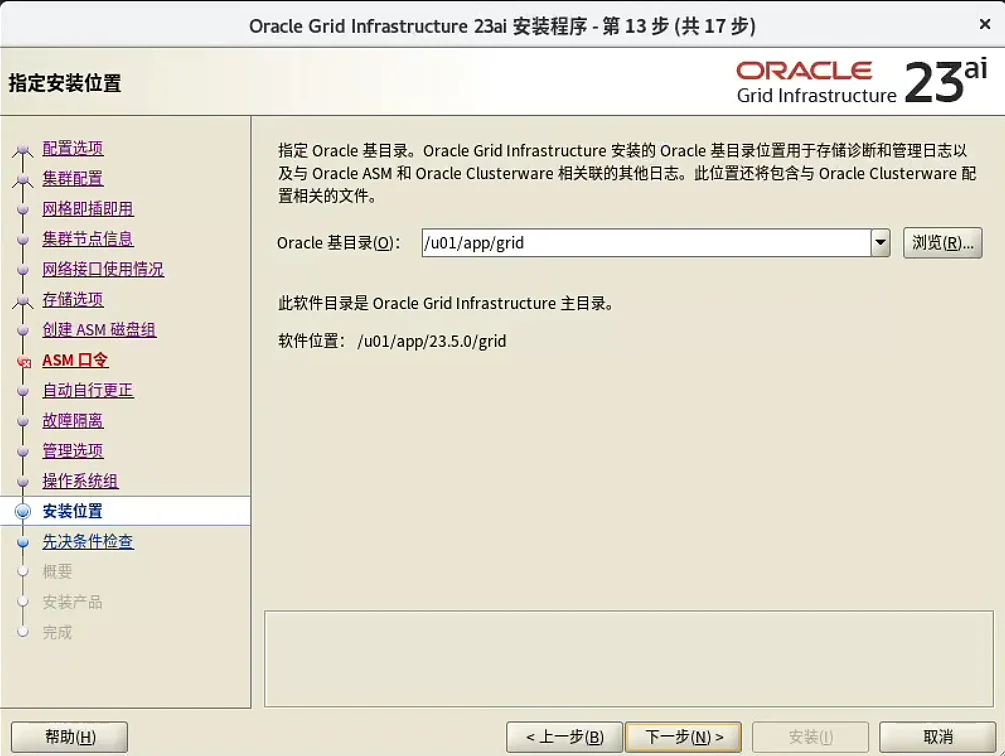
13 ORACLE_HOME= /u01/app/23.5.0/grid
14
15Enter the full pathname of the local bin directory: [/usr/local/bin]:
16The contents of "dbhome" have not changed. No need to overwrite.
17The contents of "oraenv" have not changed. No need to overwrite.
18The contents of "coraenv" have not changed. No need to overwrite.
19
20
21Creating /etc/oratab file...
22Entries will be added to the /etc/oratab file as needed by
23Database Configuration Assistant when a database is created
24Finished running generic part of root script.
25Now product-specific root actions will be performed.
26RAC option enabled on: Linux
27Executing command '/u01/app/23.5.0/grid/perl/bin/perl -I/u01/app/23.5.0/grid/perl/lib -I/u01/app/23.5.0/grid/crs/install /u01/app/23.5.0/grid/crs/install/rootcrs.pl '
28Using configuration parameter file: /u01/app/23.5.0/grid/crs/install/crsconfig_params
29The log of current session can be found at:
30 /u01/app/grid/crsdata/orcl1/crsconfig/rootcrs_orcl1_2025-08-14_02-16-28PM.log
312025/08/14 14:16:32 CLSRSC-594: 执行 19 的安装步骤 1: 'ValidateEnv'。
322025/08/14 14:16:32 CLSRSC-594: 执行 19 的安装步骤 2: 'CheckRootCert'。
332025/08/14 14:16:32 CLSRSC-594: 执行 19 的安装步骤 3: 'GenSiteGUIDs'。
342025/08/14 14:16:33 CLSRSC-594: 执行 19 的安装步骤 4: 'SetupOSD'。
352025/08/14 14:16:33 CLSRSC-594: 执行 19 的安装步骤 5: 'CheckCRSConfig'。
362025/08/14 14:16:33 CLSRSC-594: 执行 19 的安装步骤 6: 'SetupLocalGPNP'。
372025/08/14 14:16:39 CLSRSC-594: 执行 19 的安装步骤 7: 'CreateRootCert'。
382025/08/14 14:16:55 CLSRSC-594: 执行 19 的安装步骤 8: 'ConfigOLR'。
392025/08/14 14:16:58 CLSRSC-594: 执行 19 的安装步骤 9: 'ConfigCHMOS'。
402025/08/14 14:16:58 CLSRSC-594: 执行 19 的安装步骤 10: 'CreateOHASD'。
412025/08/14 14:16:59 CLSRSC-594: 执行 19 的安装步骤 11: 'ConfigOHASD'。
422025/08/14 14:16:59 CLSRSC-330: 正在向文件 'oracle-ohasd.service' 添加集群件条目
432025/08/14 14:17:08 CLSRSC-594: 执行 19 的安装步骤 12: 'SetupTFA'。
442025/08/14 14:17:08 CLSRSC-594: 执行 19 的安装步骤 13: 'InstallAFD'。
452025/08/14 14:17:08 CLSRSC-594: 执行 19 的安装步骤 14: 'InstallACFS'。
462025/08/14 14:17:20 CLSRSC-594: 执行 19 的安装步骤 15: 'CheckFirstNode'。
472025/08/14 14:17:21 CLSRSC-594: 执行 19 的安装步骤 16: 'InitConfig'。
48CRS-4256: 更新概要文件
49已成功添加表决磁盘 b3bc15d316d64f90bf07a28c28159c4b。
50已成功添加表决磁盘 8e0ac8d8ffe84fb5bf8aeb5b5477ac79。
51已成功添加表决磁盘 2f6430957b8c4fd7bf50dfc58188dc97。
52已成功将表决磁盘组替换为 +OCR。
53CRS-4256: 更新概要文件
54CRS-4266: 已成功替换表决文件
55## STATE File Universal Id File Name Disk group
56-- ----- ----------------- --------- ---------
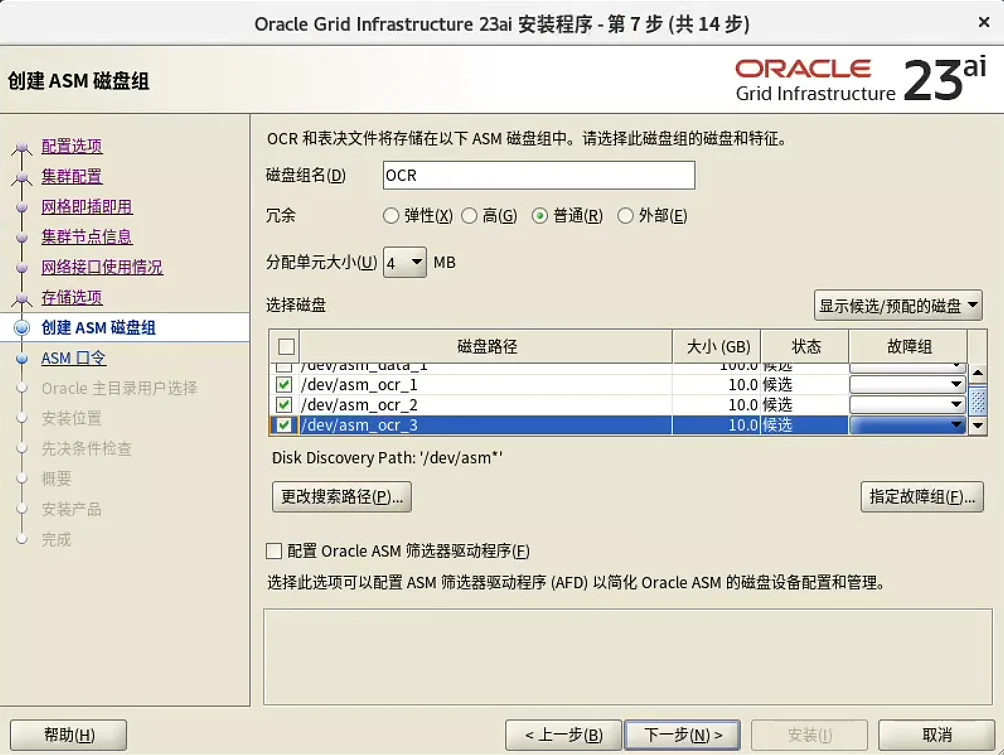
57 1. ONLINE b3bc15d316d64f90bf07a28c28159c4b (/dev/asm_ocr_1) [OCR]
58 2. ONLINE 8e0ac8d8ffe84fb5bf8aeb5b5477ac79 (/dev/asm_ocr_2) [OCR]
59 3. ONLINE 2f6430957b8c4fd7bf50dfc58188dc97 (/dev/asm_ocr_3) [OCR]
60找到了 3 个表决磁盘。
612025/08/14 14:18:12 CLSRSC-594: 执行 19 的安装步骤 17: 'StartCluster'。
622025/08/14 14:18:26 CLSRSC-4002: 已成功安装 Oracle Autonomous Health Framework (AHF)。
632025/08/14 14:18:34 CLSRSC-343: 已成功启动 Oracle Clusterware 堆栈
642025/08/14 14:18:37 CLSRSC-594: 执行 19 的安装步骤 18: 'ConfigNode'。
65clscfg: EXISTING configuration version 23 detected.
66Successfully accumulated necessary OCR keys.
67Creating OCR keys for user 'root', privgrp 'root'..
68Operation successful.
692025/08/14 14:19:00 CLSRSC-594: 执行 19 的安装步骤 19: 'PostConfig'。
702025/08/14 14:19:15 CLSRSC-325: 为集群配置 Oracle Grid Infrastructure...成功